Imagine having fresh, nutrient-rich greens all year, no matter the weather. This is possible with indoor microgreens. These small plants are full of nutrients, up to 40 times more than regular greens. They’re a superfood.
But what are microgreens and why grow them at home? Microgreens are young, tender shoots harvested early in their growth. They add flavor and nutrients to any dish. Are you ready to grow your own indoor microgreen garden and enjoy these nutrient-dense greens?
Key Takeaways
- Microgreens pack up to 40 times more nutrients than their mature counterparts
- Growing microgreens indoors allows you to enjoy fresh, vibrant greens year-round
- Microgreens can be harvested in just 7-14 days, providing a quick turnaround for growers
- Microgreens can be used in a variety of dishes, from salads and sandwiches to stir-fries and more
- With the right supplies and techniques, anyone can successfully grow microgreens at home
Introduction to Growing Microgreens at Home
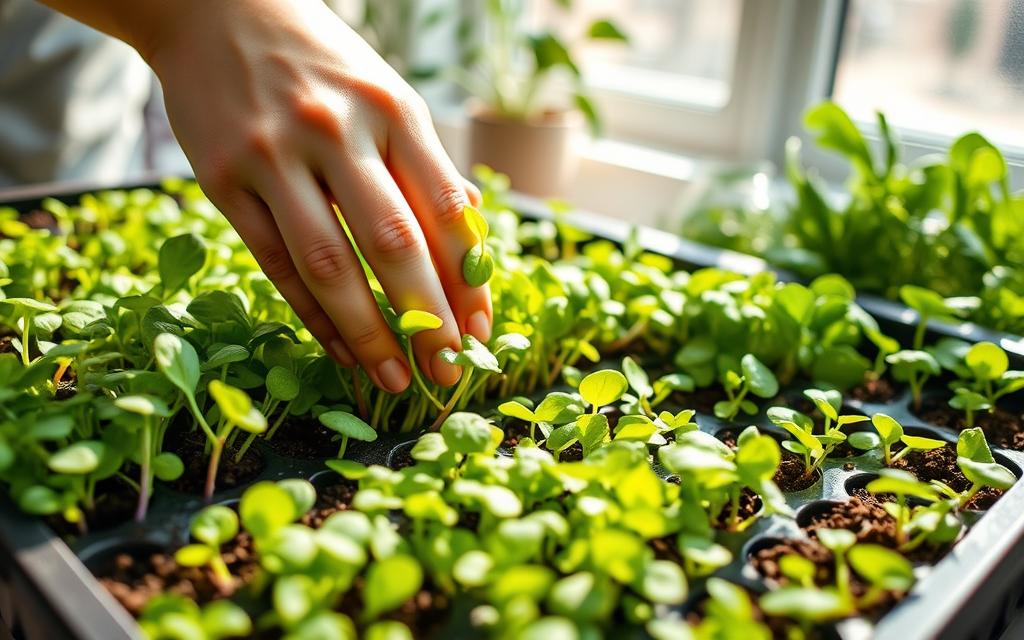
Microgreens are young, edible seedlings of veggies, herbs, and grains. They are harvested when the first true leaves come out, usually 1-2 weeks after germination. Growing them indoors means you can have a steady supply of these tasty and healthy greens all year. You don’t need a big outdoor garden for this.
What are Microgreens?
Microgreens are tiny versions of mature veggies and herbs. They are full of vitamins, minerals, and antioxidants. Harvested when they’re just a few inches tall, they pack a big nutritional punch in a small package. In fact, they have 4 to 10 times more nutrients than their full-grown versions.
Benefits of Growing Microgreens Indoors
- Easily grow a variety of nutritious microgreens right in your own home, without needing a large garden.
- Enjoy a continuous supply of fresh, flavorful greens throughout the year, even during the colder months.
- Microgreens are high in essential vitamins, minerals, and antioxidants that can support overall health and well-being.
- The small footprint and quick growth cycle of microgreens make them well-suited for indoor cultivation.
- Incorporating microgreens into your daily diet is a simple way to boost your intake of nutrient-dense foods.
Growing microgreens indoors is rewarding and easy. It’s a great way to add more nutrient-dense greens to your diet. With their small size and fast growth, they can grow in even the smallest indoor spaces. This lets you enjoy their amazing flavors and health benefits all year.
Choosing the Right Microgreens to Grow
Choosing microgreens to grow at home means thinking about what you like to eat and the nutrients they offer. You can find everything from mild and sweet to peppery and earthy flavors. This makes growing microgreens at home exciting.
Popular Microgreen Varieties
Popular microgreens include broccoli, kale, arugula, radish, beet, and sunflower. These greens are not just tasty but also packed with nutrients. They can make any salad or dish more exciting.
- Broccoli microgreens are known for their high sulforaphane content, which fights cancer.
- Kale microgreens are full of vitamins A, C, and K, and antioxidants for wellness.
- Arugula microgreens add a zesty flavor and are rich in vitamins and minerals.
- Radish microgreens grow fast and are spicy, loved by home growers.
- Beet microgreens are beautiful and full of nutrients that help with heart health.
- Sunflower microgreens are sweet, nutritious, and add a delightful crunch.
Microgreens to Avoid
Most microgreens are safe to grow and eat, but some should be avoided. Plants in the nightshade family like tomatoes, peppers, and eggplants can be harmful in their early stages. They contain toxins.
Stick to safe, nutritious microgreens that you and your family will like. This way, you can enjoy a healthy indoor garden with tasty greens.
Setting Up Your Indoor Microgreen Garden
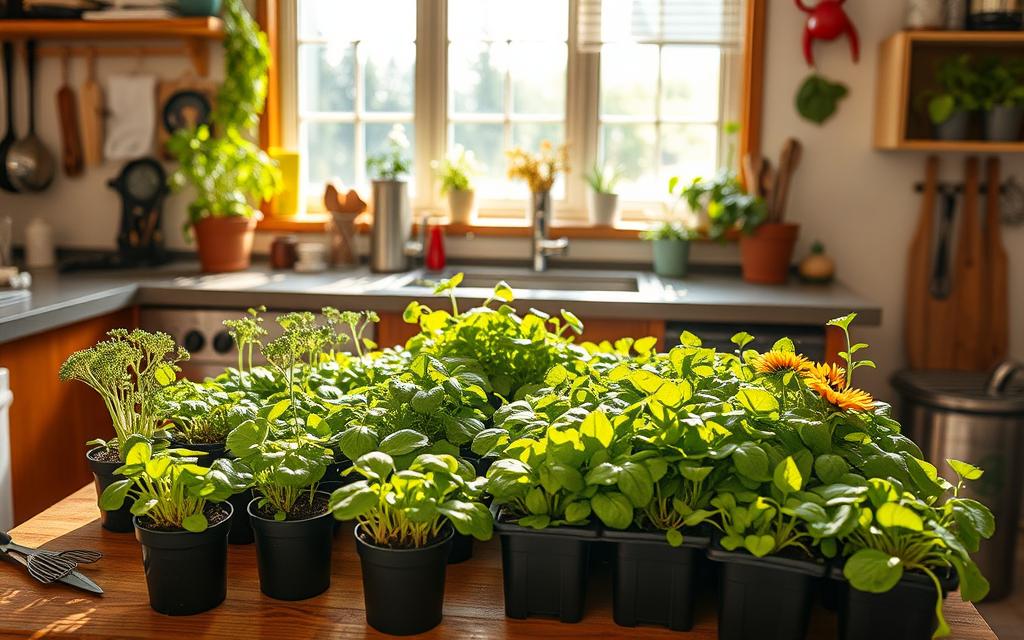
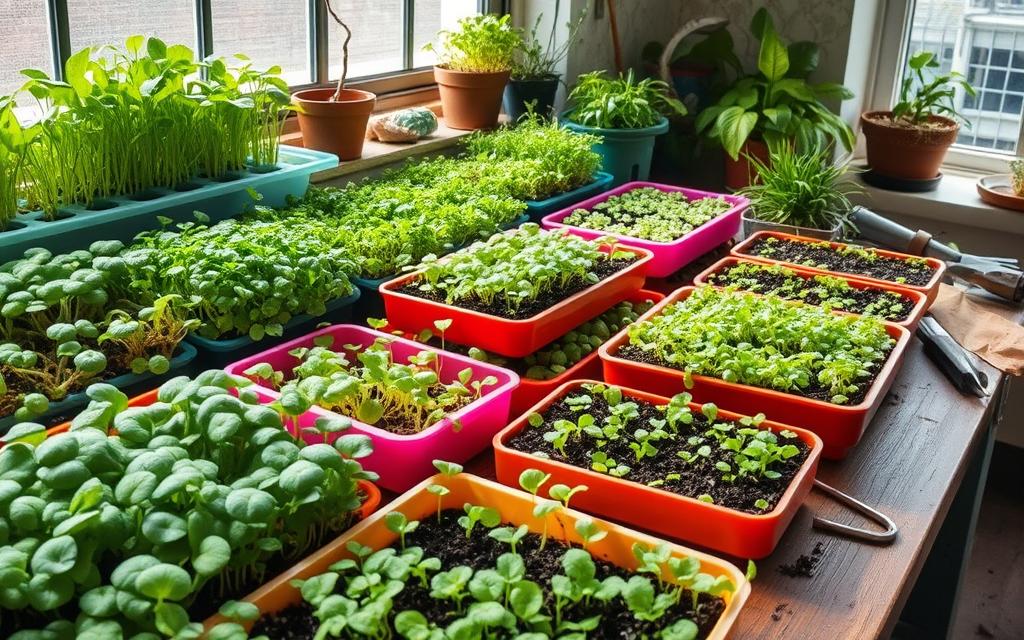
To grow a thriving indoor microgreen garden, you’ll need a few key items. Begin with a shallow growing tray or container, 2-3 inches deep, and make sure it has good drainage. Use a seed starting mix or lightweight potting soil as your growing medium. Choose high-quality microgreen growing supplies for the best results.
Essential Supplies for Growing Microgreens
- Growing tray or container (2-3 inches deep)
- Seed starting mix or lightweight potting soil
- Microgreen seeds
- Watering can with a shower head
- Digital scale for measuring seeds
- Small fan for air circulation
Lighting Requirements for Indoor Microgreens
Microgreens need a lot of light, about 4-6 hours of direct sunlight daily. If your space lacks enough natural light, use microgreen lighting. A minimum 2-foot T5 fluorescent fixture placed 2-4 inches above the soil works well. Good lighting is key for healthy microgreen growth.
| Lighting Requirement | Recommendation |
|---|---|
| Minimum Lighting | 2-foot T5 Fluorescent Fixture |
| Fixture Height | 2-4 inches above the soil |
| Lighting Duration | 4-6 hours of direct sunlight per day |
With the right microgreen trays and containers, lighting, and growing medium, you’re set for a thriving indoor microgreen setup. Microgreens are packed with nutrients, making it a smart investment to use quality supplies.
Step-by-Step Guide to Growing Microgreens Indoors
Growing microgreens indoors is easy and can be done in a few steps. Start by soaking the seeds in water for a few hours. This makes them absorb moisture and sprout faster.
Then, put a 2-inch layer of moistened soil in your growing tray. Spread the seeds out, cover them with a bit more soil, and water them. This keeps the seeds moist and in touch with the soil.
- Soak microgreen seeds in water for several hours to promote faster germination.
- Fill a growing tray with a 2-inch layer of moistened seed starting mix or potting soil.
- Evenly distribute the seeds across the surface, cover lightly with additional soil, and mist with water.
Put the tray in a sunny spot or under grow lights. Keep the soil moist but not too wet. On average, microgreens take between 7 to 21 days to be ready for harvest. You can start harvesting in 7-14 days, when the first true leaves appear.
To harvest, just cut the greens at the base. Leave the roots behind to let the plant grow again. Enjoy your fresh, tasty microgreens!
| Microgreen Variety | Germination Time | Harvest Time |
|---|---|---|
| Broccoli, Arugula, Asian Spinach, Mustard, Kale | 24 hours | 10 days |
| Red Beets | 24-48 hours | 17 days |
| Dill, Cilantro | 48-72 hours | 14 days |
| Sunflower, Buckwheat | 24-48 hours | 10-12 days |
“Microgreens have been shown to have four to forty times the nutritional value of their mature counterparts, making them a superfood.”
Growing Microgreens Indoors
Growing microgreens indoors is easy and requires little effort. These small plants need less soil and nutrients than full-sized plants. By knowing the best growing conditions, you can grow fresh, tasty microgreens at home.
Soil and Nutrient Needs for Microgreens
Use a light, well-draining mix or potting soil for growing microgreens indoors. Don’t use soils too rich in fertilizers, as microgreens don’t need much. Instead, focus on giving them the right amount of water and care.
Watering and Humidity Levels
Water the soil just right, keeping it moist but not too wet. Mist the microgreens every day with a spray bottle to keep humidity at 50-70%. This helps them grow well and prevents mold or disease. Check the soil often and adjust watering to keep the microgreens moist during their short life.
| Microgreen Soil Requirements | Microgreen Watering and Humidity |
|---|---|
|
|
With the right soil, nutrients, and moisture, you can create perfect conditions for your indoor microgreen garden. A little care and attention will let you enjoy the fresh, vibrant flavors of homegrown microgreens soon.
Harvesting and Storing Microgreens

Growing your own microgreens is a joy. They are packed with nutrients and delicious. But, harvesting and storing them right is key. Let’s learn how to keep your microgreens fresh and tasty.
When to Harvest Microgreens
Microgreens are ready in 7-14 days after sowing. Look for the first true leaves to know they’re ready. This means they’re perfect for eating.
Proper Microgreen Harvesting Techniques
Use sharp scissors or shears to cut the microgreens at the base. Leave the roots behind. This way, the rest will keep growing, giving you more harvests.
Storing Microgreens for Longevity
Keep your microgreens fresh by storing them in a resealable bag or container with a damp paper towel. They can last 7 days in the fridge. Keep the fridge between 33°F and 40°F to keep them crisp.
Follow these tips for when to harvest microgreens and how to harvest microgreens. Also, use proper microgreen storage methods. Enjoy your homegrown microgreens for days with their great taste and nutrition. Happy harvesting and enjoying!
Troubleshooting Common Issues with Indoor Microgreens
Growing microgreens indoors can be rewarding, but it’s not always smooth sailing. You might face challenges like mold, weak seedlings, or other problems. To fix these issues, make sure your soil stays moist, air flows well, and your plants get enough light. This way, you can solve common microgreen growing problems and indoor microgreen issues.
Mold is a big concern for many growers. If you see mold, act fast. Remove the affected greens and boost air flow to stop more mold. Changing how you water and light your plants can also help prevent mold.
Leggy or weak seedlings are another common problem. This often happens if your plants don’t get enough light or if the soil is too dry. Make sure your microgreens get 12-16 hours of light daily. Also, keep the soil moist but not soaked to help them grow strong and compact.
- Maintain proper soil moisture levels to prevent mold and fungal growth
- Provide adequate lighting, 12-16 hours per day, to prevent legginess
- Ensure good air circulation to discourage mold and promote healthy growth
- Adjust watering and lighting as needed to address any issues that arise
By tackling these common microgreen growing problems and indoor microgreen issues with some microgreen troubleshooting, you can have a thriving indoor garden. You’ll enjoy a lot of fresh, tasty greens.
Creative Ways to Enjoy Your Homegrown Microgreens
The delicate, nutrient-dense nature of microgreens makes them a versatile ingredient. They can elevate a wide variety of dishes. Use microgreens in sandwiches, wraps, soups, stir-fries, omelets, and even smoothies. Their vibrant colors and unique flavors can add a gourmet touch to any meal.
Recipes and Ideas for Using Microgreens
Try topping avocado toast with radish microgreens. Stir kale microgreens into your scrambled eggs. Or garnish your favorite soup with spicy mustard microgreens. The possibilities are endless with your homegrown microgreen bounty.
- Salads: Mix a variety of microgreens with your favorite greens, vegetables, and a simple vinaigrette dressing.
- Sandwiches and Wraps: Tuck microgreens into your favorite sandwich or wrap for an extra crunch and flavor boost.
- Soups and Stews: Sprinkle microgreens on top of your soup or stew just before serving for a pop of color and texture.
- Omelets and Frittatas: Fold microgreens into your egg dishes for a nutritional and flavorful addition.
- Smoothies: Blend microgreens into your favorite smoothie recipe for an extra nutrient boost.
| Microgreen Variety | Best Uses |
|---|---|
| Radish Microgreens | Salads, Sandwiches, Avocado Toast |
| Kale Microgreens | Scrambled Eggs, Soups, Pasta Dishes |
| Spicy Mustard Microgreens | Soups, Stir-Fries, Garnishes |
Remember, the key to enjoying your homegrown microgreens is to experiment with different varieties. Find creative ways to incorporate them into your meals. Their vibrant colors, unique flavors, and exceptional nutritional profile can truly elevate any dish.
“Microgreens are not only beautiful, but they’re also packed with nutrients and can add a delightful crunch and flavor to any dish.”
The Benefits of Growing Microgreens Indoors

Growing microgreens indoors has many advantages. It lets you have fresh, nutritious greens right at your fingertips. You can control the growing conditions and avoid pesticides, ensuring your greens are safe and healthy.
One big plus of indoor microgreen gardens is their small size. They fit even in tiny spaces, making them perfect for those with little outdoor area. Plus, they’re packed with nutrients and versatile in cooking, making them a great way to eat healthier.
Microgreens are full of vitamins and antioxidants because they’re harvested early. They grow in soil, which helps them develop strong roots and shoots. This makes them taste better, look more vibrant, and have more nutrients than regular veggies.
| Microgreen Variety | Nutrient Highlights |
|---|---|
| Broccoli Microgreens | High in vitamins A, C, and K, as well as sulforaphane, an antioxidant compound. |
| Radish Microgreens | Rich in vitamins C, E, and K, plus minerals like calcium, iron, and potassium. |
| Sunflower Microgreens | Packed with protein, fiber, and vitamins B, C, and E. |
There are many microgreen seed options to choose from, offering everything from classic to exotic tastes. Whether you’re an expert or a beginner, growing your own microgreens at home is rewarding and healthy.
“Growing microgreens indoors is a game-changer for my health and culinary adventures. The convenience and control it provides are unbeatable.”
Conclusion
Growing microgreens indoors is rewarding and easy. It lets you enjoy fresh, nutrient-dense greens all year. By following this microgreen growing guide, you can start your own indoor microgreen cultivation. It’s perfect for both seasoned gardeners and beginners.
Enjoy the joy of growing your own food with homegrown microgreens. These tiny plants are packed with nutrients and grow fast. They’re a great addition to any kitchen, giving you fresh greens anytime.
Starting your indoor microgreen cultivation journey is exciting. This guide has given you all the info you need. Choose the right microgreens, set up the best growing space, and harvest them correctly. Soon, you’ll enjoy the taste and health benefits of your own microgreens.
FAQ
What are microgreens?
What are the benefits of growing microgreens indoors?
What are some of the most popular microgreen varieties to grow?
What supplies do I need to grow microgreens indoors?
How much lighting do microgreens need?
How do I water and care for my indoor microgreens?
When and how do I harvest my microgreens?
How do I store my harvested microgreens?
What are some common issues that can arise when growing microgreens indoors?
How can I use my homegrown microgreens in the kitchen?
Source Links
- How to Grow Microgreens Indoors | Gardening | Wholefully
- Andi’s Way – Organic Wheatgrass, Microgreens & Seeds Wholesale
- How to Grow Microgreens at Home
- A Step-By-Step Guide for Growing Microgreens at Home
- How to Grow Microgreens
- Learn How to Grow Microgreens 101 | Growing Microgreens Indoors – Bootstrap Farmer
- Growing Microgreens Indoors – It’s Easier Than You Might Think!
- Growing Microgreens at Home – How Anyone Can Be Successful
- Microgreens 101: How to grow microgreens at home
- 7 Steps for Growing Your Own Microgreens – Fruition Seeds
- How to Grow Microgreens Indoors — simply living well
- How to Grow Microgreens Indoors
- How to harvest, store and use Microgreens
- How to Store Microgreens to Maximize Shelf Life – Home Microgreens
- A Step-by-Step Guide to Growing Microgreens Indoors
- How to Fix Common Microgreen Growing Problems
- 10 of the Tastiest Ways to Enjoy Microgreens – Bootstrap Farmer
- How to Grow Microgreens Indoors in Winter using Egg Cartons – Small Space Gardening – Simple Eco Mama
- Pros and Cons of Microgreens | Microgreens World
- Grow Microgreens at Home
- Grow Your Own Microgreens Indoors — It’s A Great Indoor Gardening Project!
- what you need to know – The Green Conspiracy


